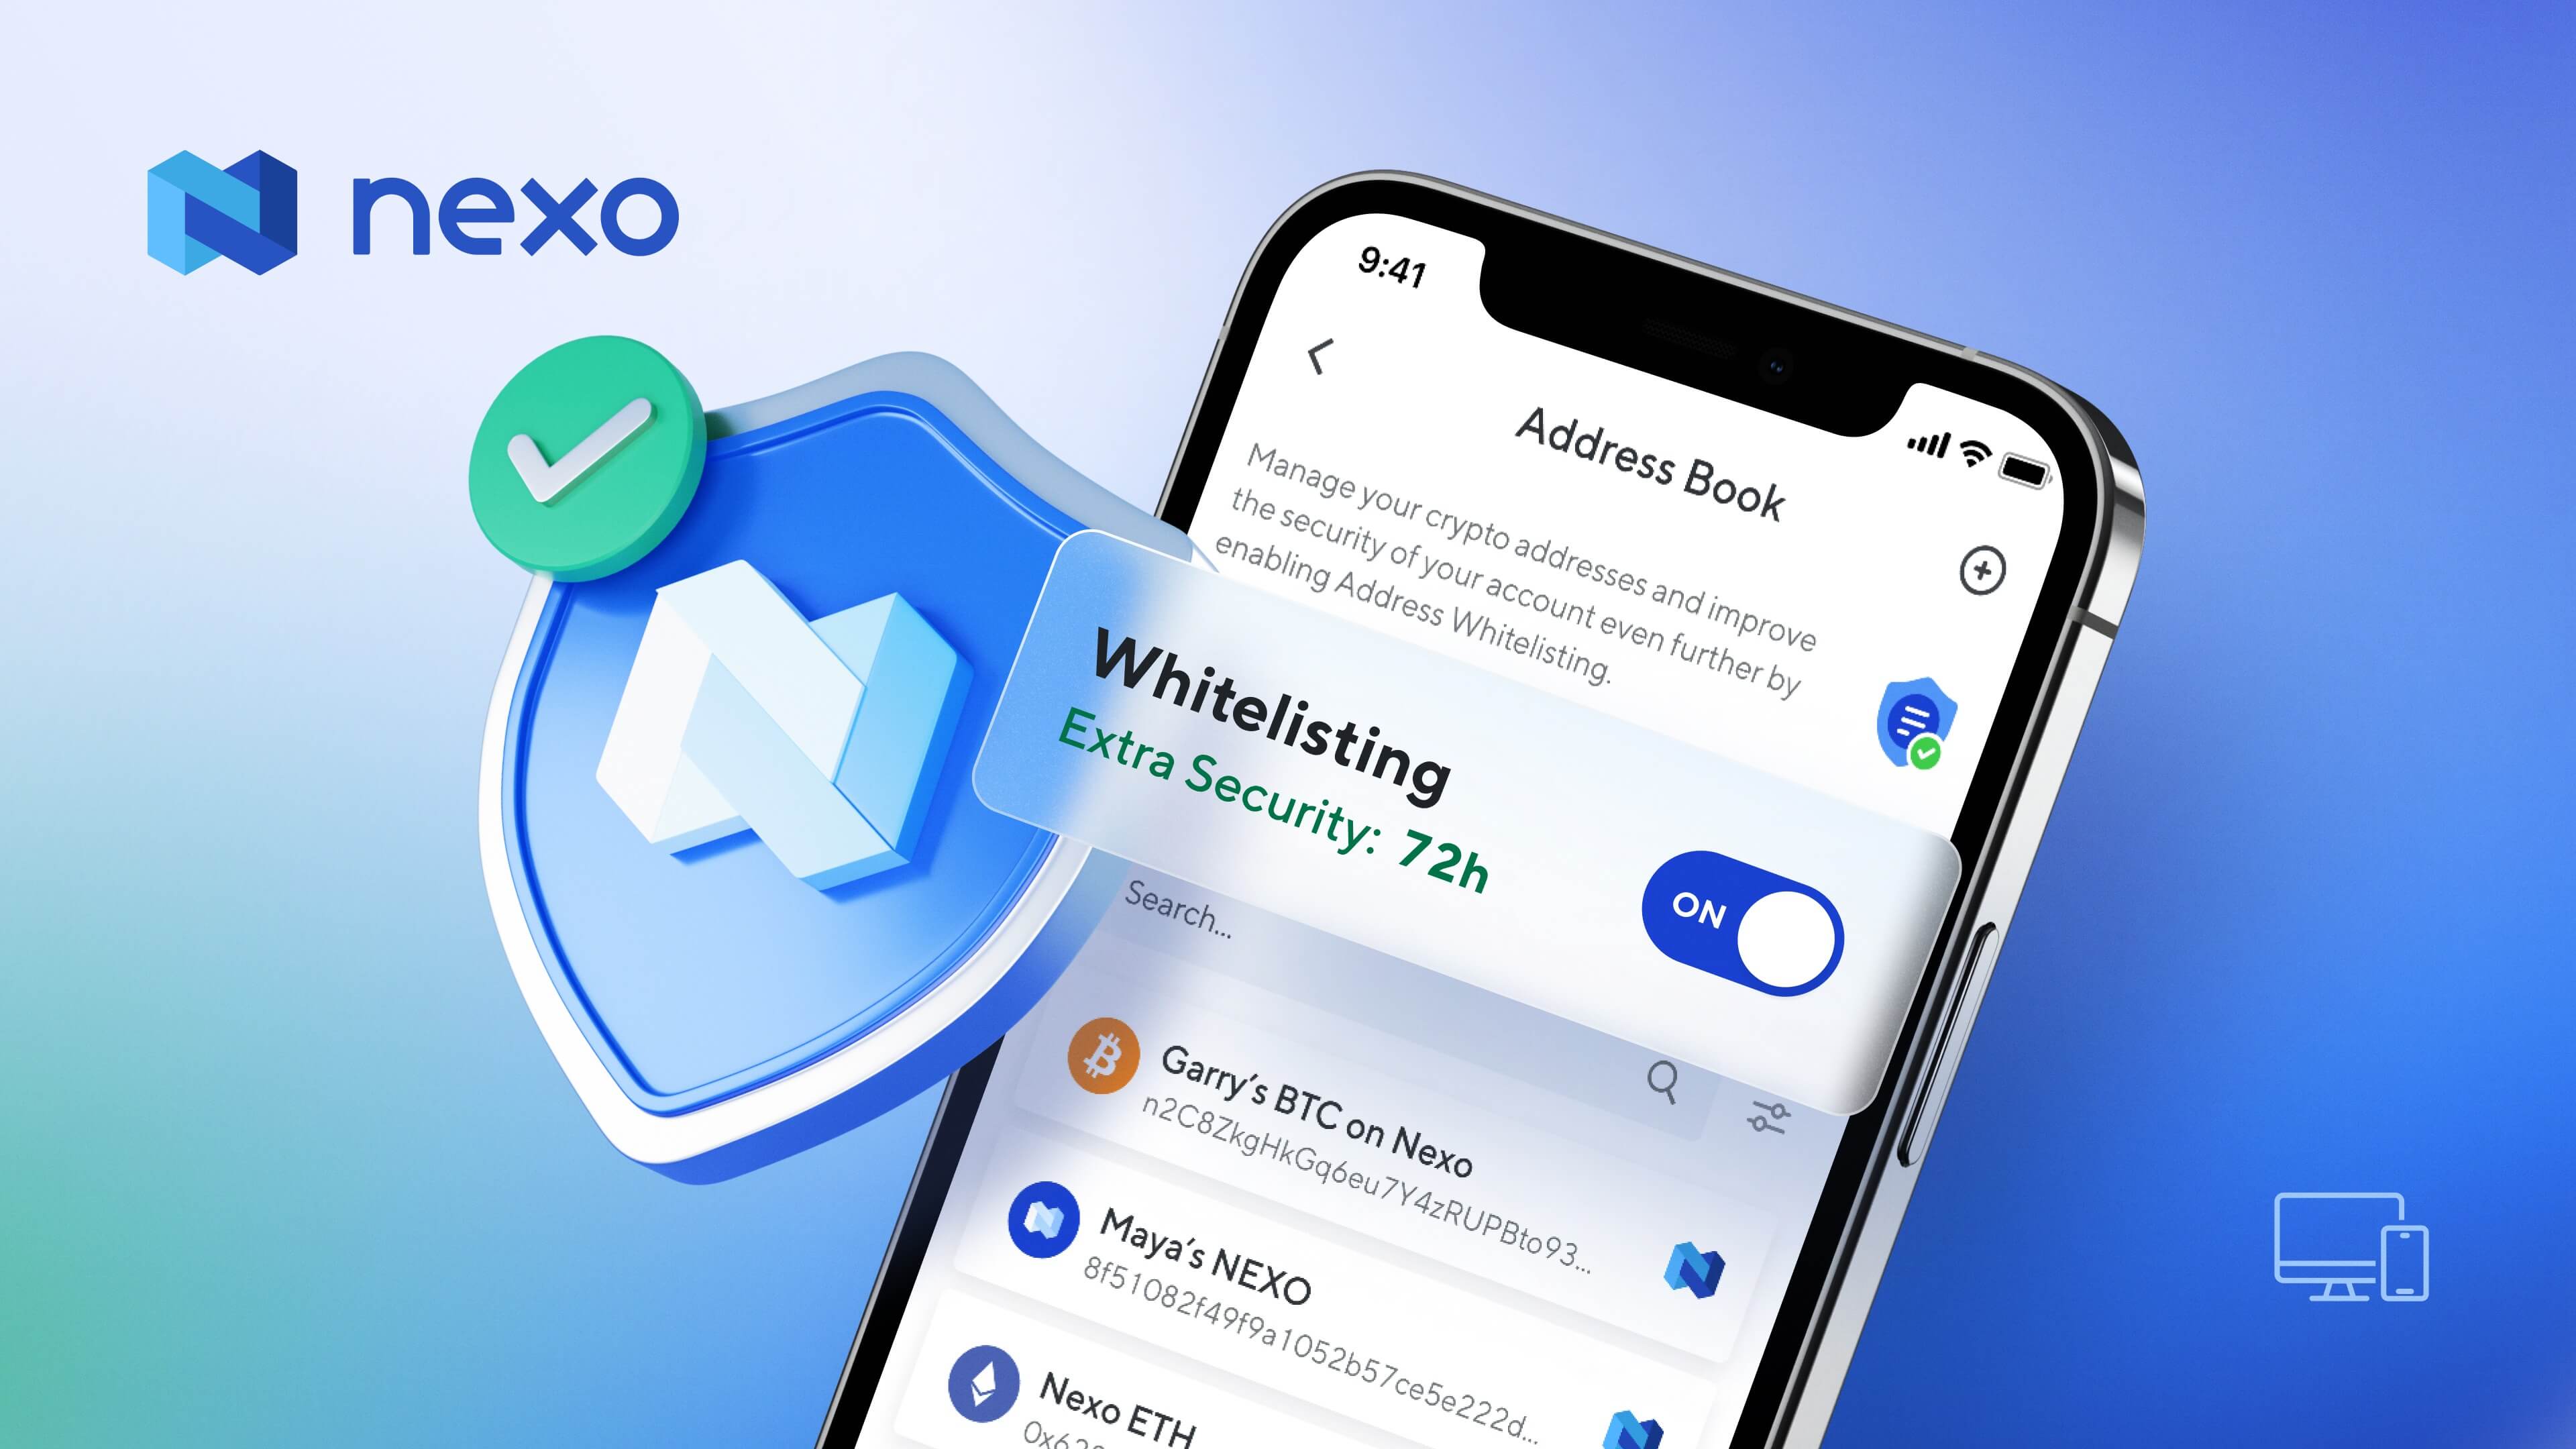
Maximize the Safety of Your Assets with Nexo’s Whitelisting
Nov 22, 2021•2 min read

The first step to maximizing the value of your crypto with Nexo is placing digital assets into your Nexo account. We know that’s a big step for most investors, so we’ve made sure you have all the security you need for your assets.
Today, we’re thrilled to announce that we're bringing you another much wanted feature which will protect your assets even further – Nexo’s Whitelisting.
Nexo’s Whitelisting
Having your whitelisting enabled allows you to make secure crypto withdrawals to addresses already in your Address Book. It also prevents you from sending funds to misspelled addresses and adds an additional layer of protection should an unauthorized party gain access to your Nexo account. You can find your Address Book in the “Security” section of your Nexo account, both on the web and mobile version, where you can now add and store all your trusted crypto addresses.
Cool-off Period As soon as you enable address whitelisting, you get a 4-hour window (a cool-off period) to add new addresses that you can use immediately or disable whitelisting altogether. The cool-off period allows you to withdraw funds instantly to any address in your Address Book. After your cool-off period ends, you’ll be able to add new addresses after your security delay period*.
Extra Security When the cool-off period is over, this will be the length of the security delay for adding new addresses or disabling whitelisting altogether. To keep your account more secure, you can always add an extra security level. Select the length of the security delay for adding new addresses or disabling whitelisting altogether. The goal of this security delay is to provide an additional line of defense in the unlikely event of an account takeover.
*This period is based on your Extra Security settings. It can be as low as 5 or as much as 10,000 hours.
Enable Whitelisting
Manage your crypto addresses or improve the security of your account even further by enabling Address Whitelisting. Here’s how:
- Log into your Nexo account and go to the “Security” section.
- Click on the “Whitelisting” tab and choose an extra security period.
- Tap “Enable Whitelisting” and enter your 2FA code.
You now have a 4-hour window to add new addresses that you can use immediately. After this you will only be able to send funds to addresses you have whitelisted.
Add a New Address
Add a new address to your address book quickly and securely and withdraw funds immediately. Please note that you can only withdraw funds to the whitelisted addresses from the address book.
Enable Whitelisting in your Nexo profile or Nexo app.